Canada On Our Plate: Home Is Where The Pot Roast Is
This post is for an event called Canada On Our Plate hosted by Chris and Lea at Canada Eats. The idea is to blog about a recipe that is, in your opinion, typically Canadian. I chose Pot Roast. But this is no ordinary pot roast.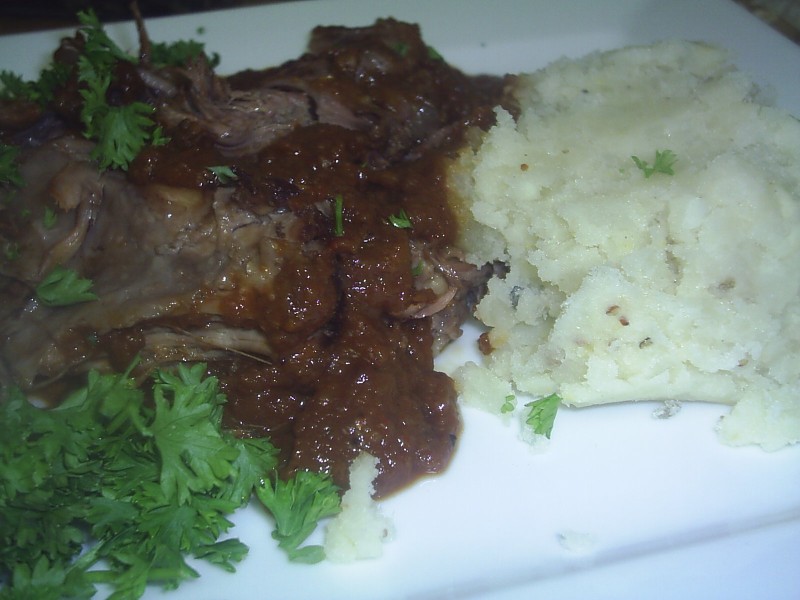 An odd choice one would think, and perhaps not specifically Canadian, but this has become a favourite of our family, and it is frequently requested for birthdays and holiday meals. I know I'm at home if this pot roast is on the table.
This recipe is called "Old-Fashioned Pot Roast", and my mother clipped the recipe from the Toronto Star newspaper some years back. The recipe is by Bonnie Stern, who is also Canadian, and who is the founder of the Bonnie Stern School of Cooking here in Toronto. The recipe is at the bottom of this post.
First of all, I would like to say that although I have been at numerous family occasions at which this roast was served, I had never before cooked this myself. So, I found myself on the phone to my mother at several points along the cooking process to make sure that I was doing this the same way as she does. Normally I don't worry about this so much, as I tend to experiment with recipes, but for the purposes of this post, I wanted to duplicate my mother's recipe as closely as possible. Not least because I really REALLY like this particular recipe.
The first thing I had to do for this recipe, aside from buying the ingredients, was to get my hands on a Dutch oven. I found an excellent cast iron model at Zeller's for $11. Can't beat that. After conditioning the pot as per the directions, I had at it.
I rubbed the spice and flour mixture on to the roast, and browned it on all sides in the Dutch oven. After removing the roast from the pot, I added the veggies, gradually adding the wine and the tomatoes. I have to tell you that the smell that was eminating from my kitchen and premeating the house, was just unbelievable. This is the aroma that I smell when I walk in the door of my parents' place when I arrive for a family birthday. Perhaps it's this aroma more than even the roast itself that says "home" to me. Here's a picture of the veggies, then the veggies with the wine added, and then with the tomatoes added to that. Mmmmm....
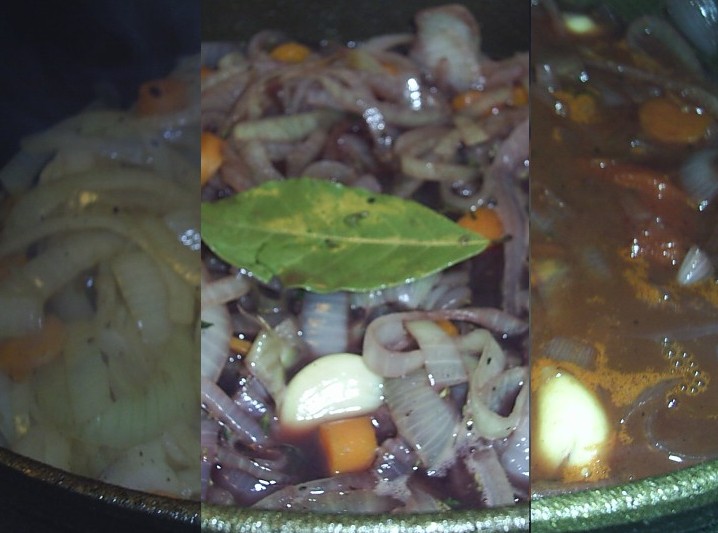 After this, everything was pretty straight-forward. The roast went back into the Dutch oven, the lid went on, and the whole thing went in to the 350F oven for about 3 1/2 hours. I checked the roast periodically to ensure that the liquid wasn't evaporating too fast, but I never had to add any extra water or wine.
The roast came out looking like this: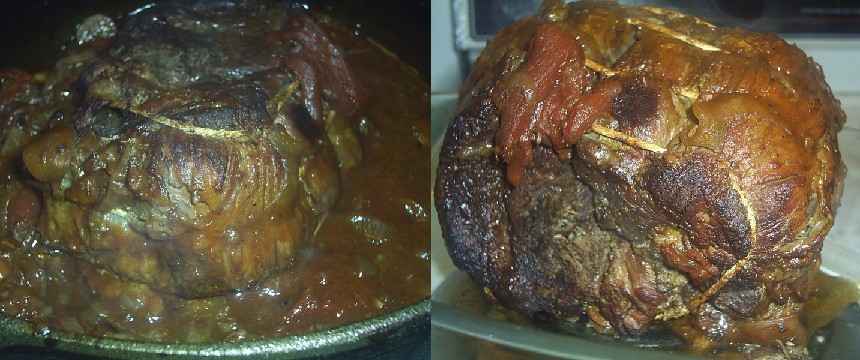 I've got two words for ya: Yeah. Baby. This roast was so tender it was falling apart, and I could cut it with a fork. Instead of slicing it as the recipe suggests, I took two forks and just shredded the roast into pieces. I then scooped all of the lovely vegetables from the pot into the food processor, and pulsed until the mixture was fairly smooth. It's almost worth making this recipe just for this sauce as it is obscenely good, and it goes with anything.
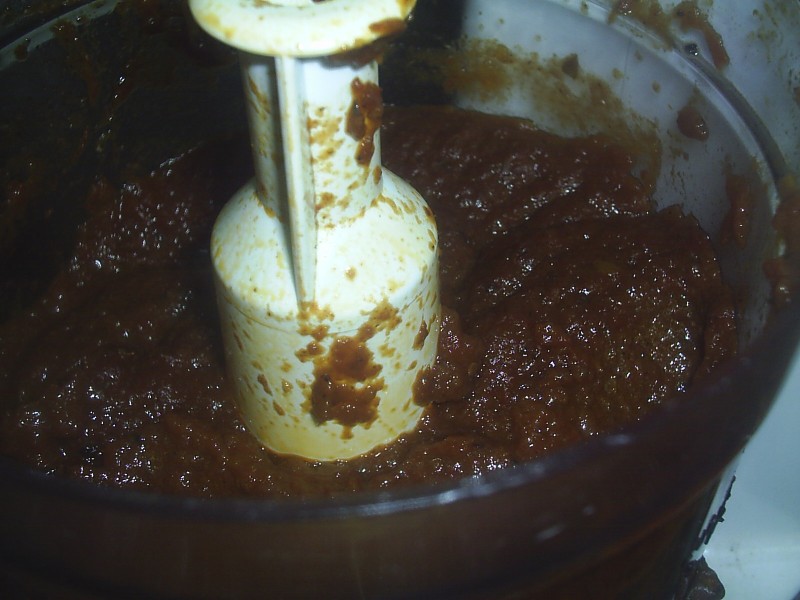
Old-Fashioned Pot Roast
1 beef pot roast (4 lbs), trimmed of excess fat, tied
1 tsp salt
1 tsp pepper
1 tsp cumin
2 tbsp all-purpose flour
2 tbsp olive oil
3 large onions, sliced (about 2 cups)
2 carrot, sliced
1 head garlic, in cloves, peeled
1 tsp dried thyme
1/2 tsp dried oregano
1 bay leaf
2 C dry red wine (or beef or chicken stock) (I used wine)
28oz (796ml) can Plum Tomatoes with juices
2 tbsp coarsely chopped fresh parsley
salt and pepper to taste
* Preheat oven to 350F
* Pat roast dry. In small bowl, combine salt, pepper, cumin and flour. Rub mixture into roast.
* Heat oil in Dutch oven in which roast will fit with about 2 inches to spare around the roast.
* Add roast; cook over medium-high heat, turning until browned on all sides. Remove roast and all but about 1 tbsp of fat from Dutch oven.
* Place onions, carrots and garlic in Dutch oven over medium-high heat and brown slightly, about 5 minutes. Add thyme, oregano and bay leaf. Add wine or stock; bring to a boil and cook uncovered about 5 minutes. Add plum tomatoes, breaking them up with a wooden spoon. Bring to a boil. Add roast. Spoon vegetables and juices over top. Cover tightly and cook 3 to 4 hours in a 350F oven or until very tender.
* Check roast every half hour and add water or stock if liquid is evaporating too fast. There should always be about 2 cups of liquid in the Dutch oven.
* When roast is very tender when pierced with fork or tip of knife, remove from oven. Transfer roast to platter. If there are more than 2 cups of juices, cook over medium-high heat, uncovered, until reduced to about 2 cups. Remove fat from surface, either by skimming with spoon or, after chilling, by lifting off. Discard bay leaf; strain or puree juices.
* Slice roast; place in casserole dish. Taste juices; add salt and pepper to taste. Pour oven roast. Sprinkle with parsley.